Table of Contents[Hide][Show]
As an excel user, you may be more comfortable viewing your worksheets in a particular font, at a particular size and zoomed in at a particular percentage. It may simply be more appealing to you while working or it may be due to some eye condition.
In this post, we would take you through zooming in and out of worksheets using two methods.
Zooming In and Out Using Plus or Minus Symbols
Using the plus or minus symbol at the bottom of your worksheet is really easy. All you need to do is click on either symbol and adjust according to your preference.
See the steps below:
Step 1: At the bottom of your worksheet, to the right of your navigation buttons, click on the Plus button to zoom in and click on the minus button to zoom out.

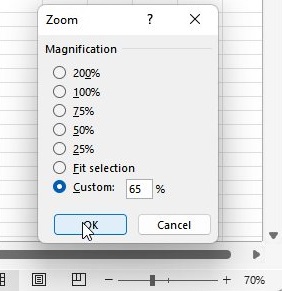
Step 2: You can also click on the percentage appearing at the extreme right to set a custom percentage, then click ok and you're done.
Zooming In and Out using the view tab
Using the view tab would allow you zoom to a specific percentage like we did in step 2 in the previous section. All you need to do is to follow these easy steps:
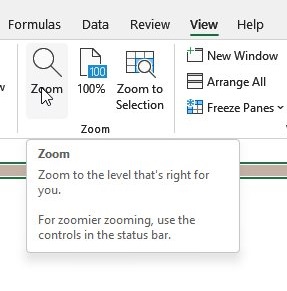
Step 1: In the excel ribbon, click on view and navigate to the zoom group. Then click on Zoom
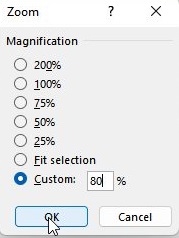
Step 2: Input a number between 10 and 400 and click OK.
Zoom to Selection
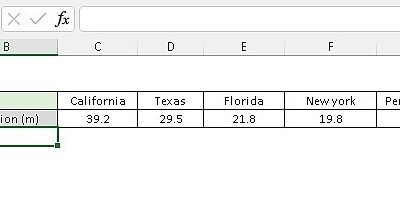
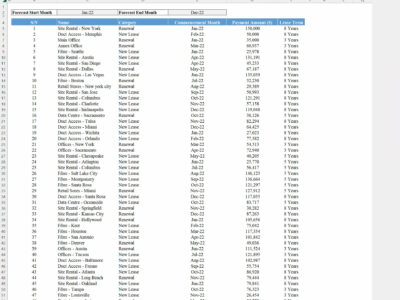
Excel also allows users zoom to a specified selection, this could be very useful during presentation meetings. Let's take an example below.
Step 1: Highlight the dataset you want excel to zoom into

Step 2: In the excel ribbon, click on view, navigate to the Zoom Group and click on zoom to selection


