Table of Contents[Hide][Show]
What is a Worksheet
Worksheet is a term used in excel to represent a collection of cells divided by rows and columns on a single sheet / page in excel. An excel workbook (document) might contain only a standalone worksheet or might be a collection of multiple, interlinked worksheets. It all depends on the purpose of the workbook or the presentation preference of the creator of the workbook. In subsequent paragraphs, we would examine ways in which worksheets can be created and customized but let’s begin with listing some of the functions of a worksheet.
Functions of a worksheet
Creating a worksheet is the starting point of activities that involve the use of excel. From commencing the budget process to creating the detailed financial model or template, worksheets need to be created at every point. Now that we have gotten an idea of how important a worksheet is, let’s consider some of the major functions of a worksheet.
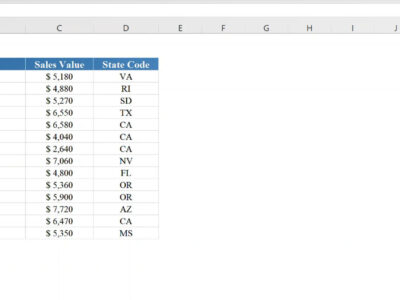
- A worksheet is the starting point for every work involving excel. It accommodates cells and through its systematic column and row numbering (e.g Cell B15 meaning Column B and row 15), allows users specify inputs and process data to produce the required output
- A Worksheet assists users in extending the functionalities of excel through VBA. By using the worksheet name on the Visual Basic editor, we can write codes that extend the functionalities of our model or template
- A worksheet can act as a visual representation or preview of an intended print out on excel
Creating a Worksheet
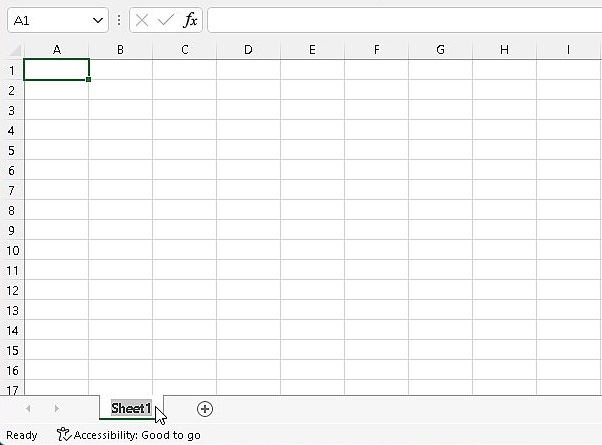
On opening the excel application on your system, excel automatically creates a new worksheet and labels it “Sheet1”.
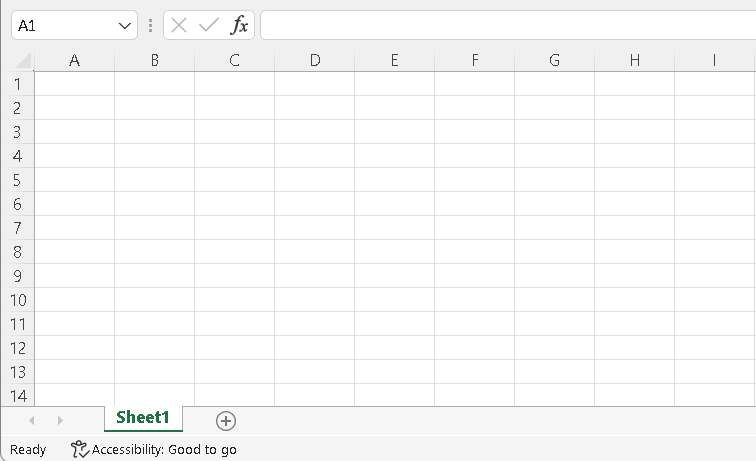
The name of the sheet can be seen at the bottom of the document window. You need not do anything but start working on the sheet. However, you should remember to save the document to your system and / or rename the sheet if you desire.
Inserting a Worksheet
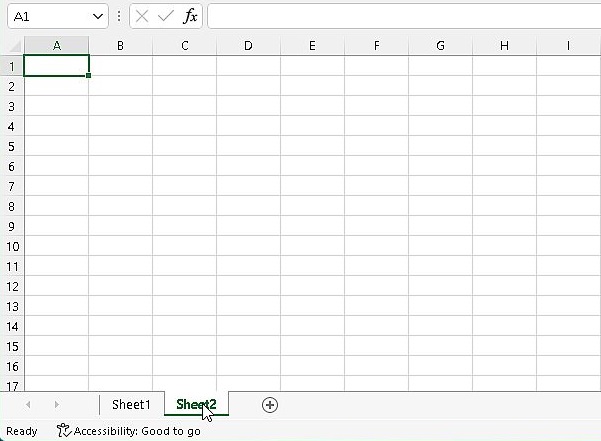
Inserting a worksheet is just as easy as creating one. All you need to do is to click the plus sign at the bottom of the document window.
Step 1: Hover to the plus sign
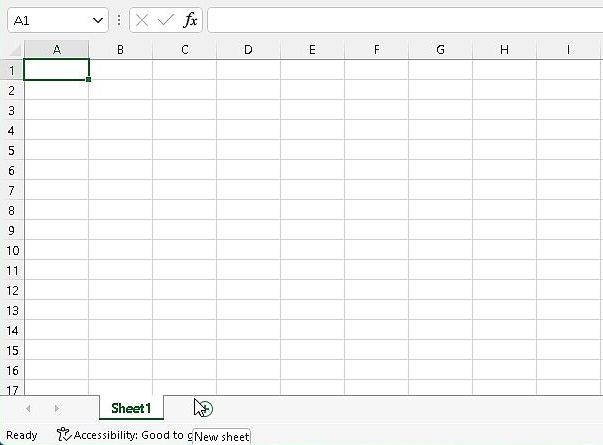
Step 2: Click on the sign and voila
Renaming a Worksheet
Renaming a worksheet is essential for people who are not just looking to do a rough analysis on excel. For presentation purposes, for example, presentation of a budget model to the CFO or board of a company, you would need to name every sheet in a workbook for easy understanding. Naming a sheet is one of the easiest things in excel. There are two ways to achieving this, the first is right clicking on the sheet you intend to name at the bottom of the document window and the second method is double clicking into the sheet name at the bottom of the document window. Now, let’s review these methods in detail:
Method 1: Right Clicking on the Sheet Name
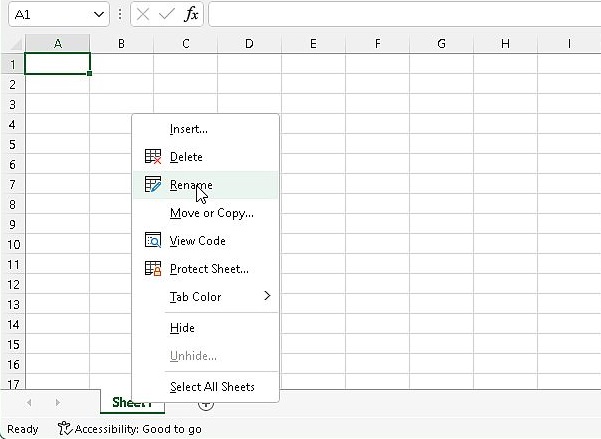
The example below shows the steps involved in renaming a sheet using the right click method.
Step 1: Hover on the sheet name (Sheet1) and right click
Step 2: Choose rename
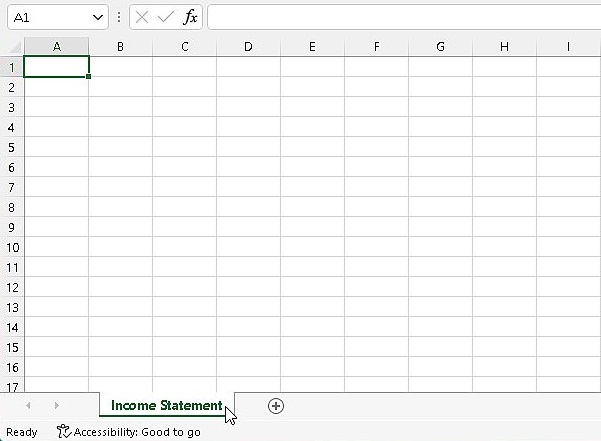
Step 3: Type in the new name (let’s say Income Statement)
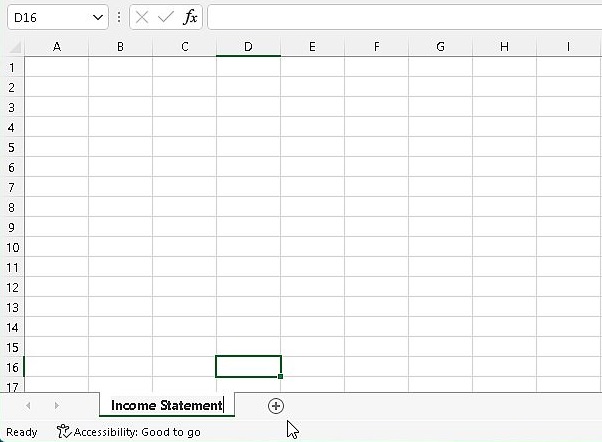
Step 4: Press enter or click on any cell within the worksheet for the new name to be registered
Method 2: Double Clicking into the Sheet Name
The example below shows the steps involved in renaming a sheet by double clicking
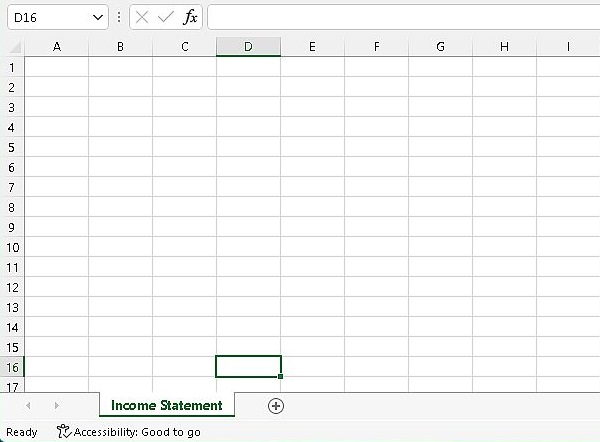
Step 1: Hover on the sheet name (Sheet1) and double click until the name is highlighted
Step 2: Type in the new name (let’s say Income Statement) and press enter
Moving a Worksheet
There are two types of worksheet movement in excel. It could be positional movement or movement to another workbook. Let’s touch on these two categories below
Positional Movement
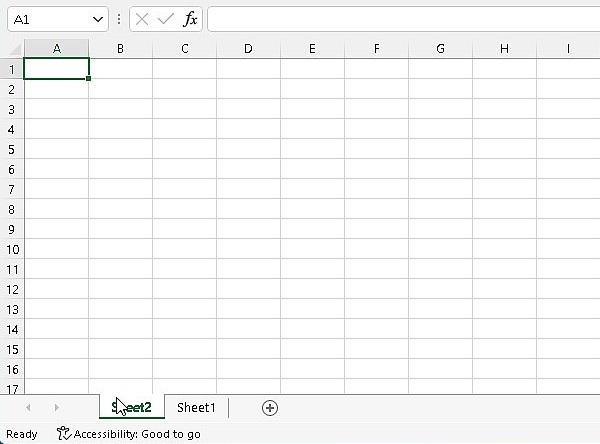
This is movement within the same workbook. For instance if you prefer sheet 2 being in front and sheet 1 at the back.
Step 1: Click on sheet 2 and drag it just before or on sheet 1
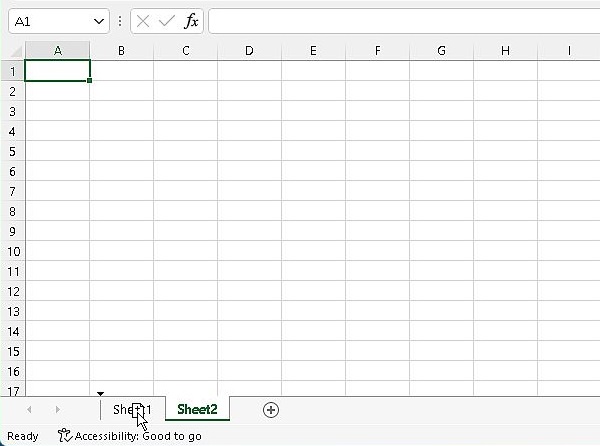
Step 2: Drop by releasing the click and you are done
Movement to Another Workbook
Movement to another workbook as the name implies is when a worksheet is moved to a separate workbook. If you prefer moving the worksheet to another workbook and still retaining the said worksheet in the original workbook, then you should use “copy worksheet” instead. We shall discuss that in subsequent paragraphs.
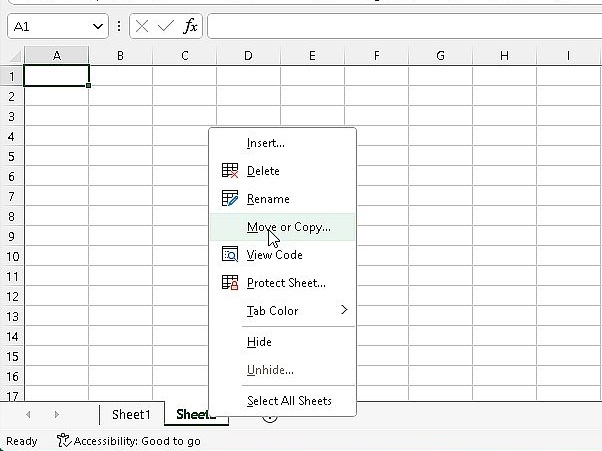
Step 1: Right click on the sheet name (Let’s say sheet2) at the bottom of the document window
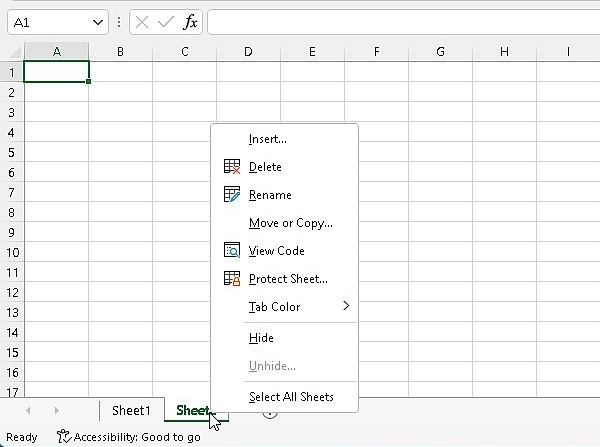
Step 2: Scroll to and select “move or copy”
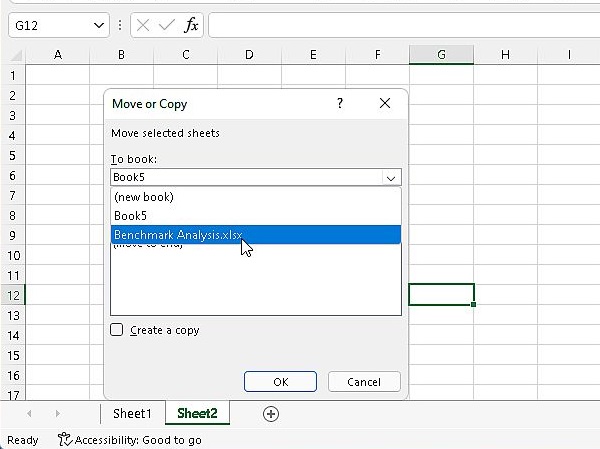
Step 3: Select the new workbook in the “To book:” dropdown box
Step 4: Select the position you want the worksheet to appear in the new workbook. In this example, I am choosing a position just before the MTSI worksheet in the new workbook
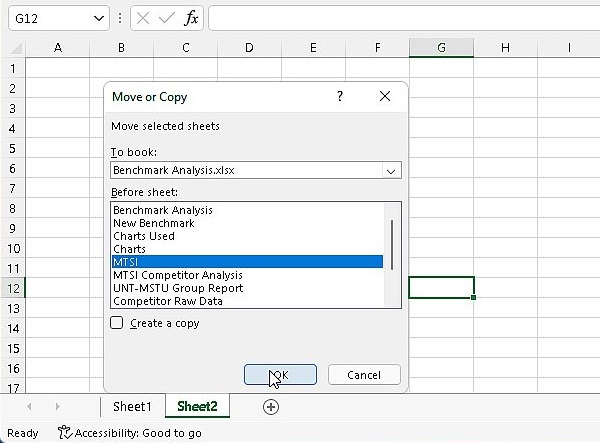
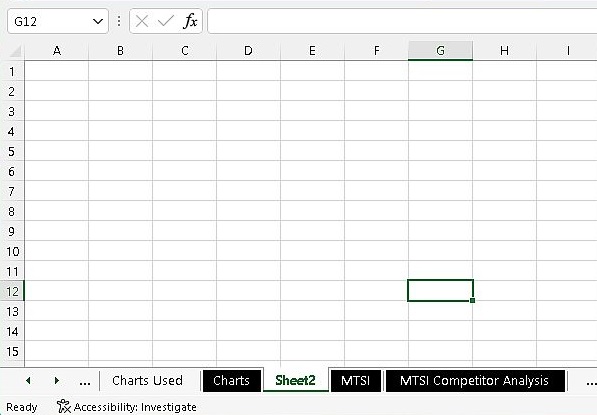
Step 5: Click on Ok and you are done
Copying / Duplicating a Worksheet
The steps for copying a worksheet in excel are largely similar to that of moving a worksheet. The only difference is that it duplicates the sheet, keeping the original sheet intact in the workbook whilst the copy could be moved within the same workbook or to another workbook.
Knowledge of copying worksheets is very useful in financial modelling or business planning where worksheets are copied back and forth and links replaced to newer versions of a workbook. No need to worry about replacing links for now, we would touch on that in a later post.
Steps for copying a worksheet: Before we begin, imagine that you have got the Opex sheet for 2021 and you want to recreate that same worksheet in 2022 for the budgeting process of 2022. In order to skip the mundane task of formatting and redoing the template, you can just duplicate the previous year's worksheet and rename the copy.
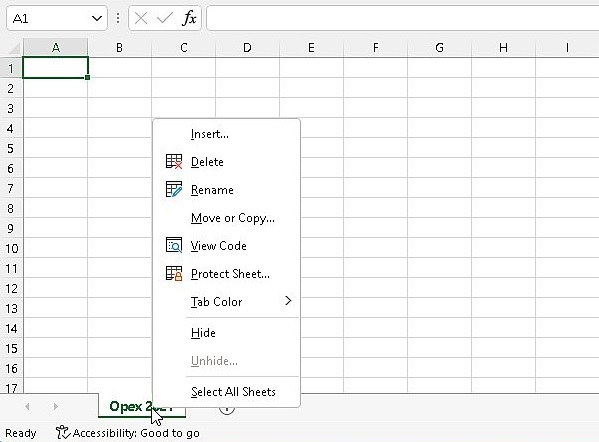
Step 1: Right click on the sheet tab
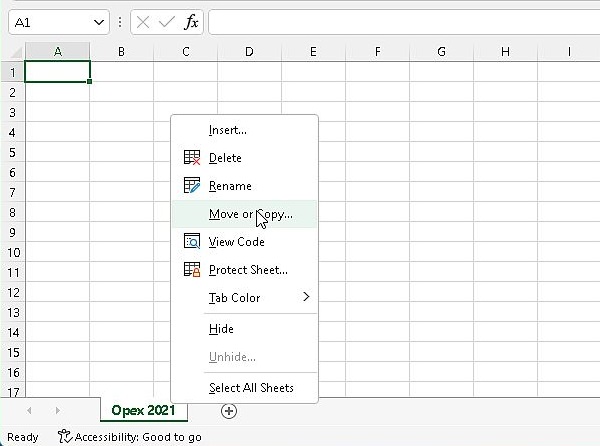
Step 2: Scroll to and select Move or Copy
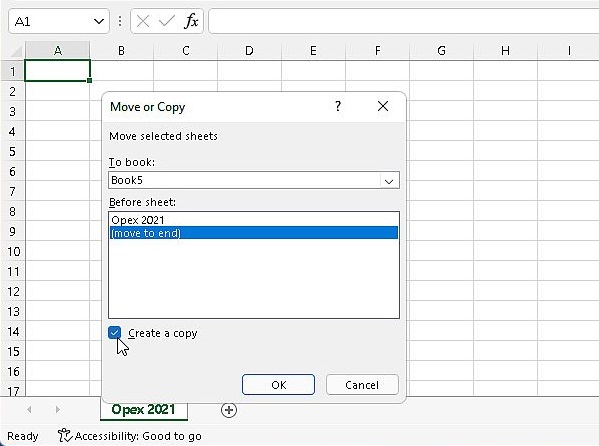
Step 3: When the move or copy dialog box appears, select move to end and then check the "create a copy" box. Remember that you can also choose the workbook to copy the sheet to in the "To book" drop down
Step 4: Click on Ok and you are done
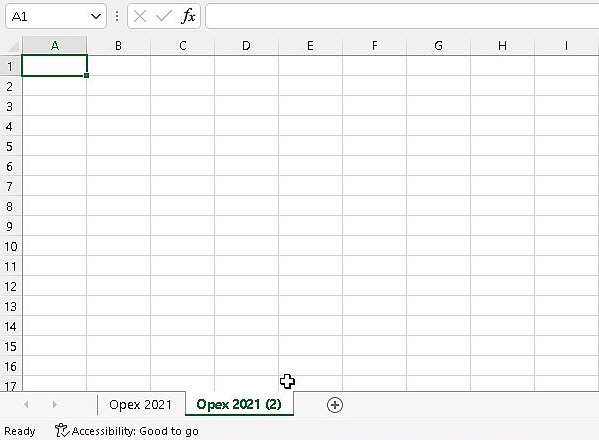
Step 5: Rename the sheet to Opex 2022 using the steps under "Renaming a Worksheet"

Using Keyboard Shortcuts
If you are a more advanced excel user and you would like to save time, you can make use of some shortcut keys to achieve the first three tutorials above (Creating a worksheet, Inserting a worksheet and renaming a worksheet).
Creating / Inserting a New Worksheet (Keyboard Shortcuts)
To create a new worksheet in a new workbook whilst excel is already open, simply use the combination:
Ctrl + n (Hold the ctrl key and the press the letter n)
To create / insert a new worksheet within the same work book, use the combination:
Shift + F11 (Hold the shift key and then press F11)
Renaming a Worksheet (Keyboard Shortcut)
To rename a worksheet using your keyboard shortcut, type:
Alt + H>O>R
Then type in the new name and press enter. Note that you don't have to press down the Alt key, just type the letters after hitting the Alt key one after the other in the highlighted sequence